ESP32 infrared receiver for Home Assistant to run 21 commands
-
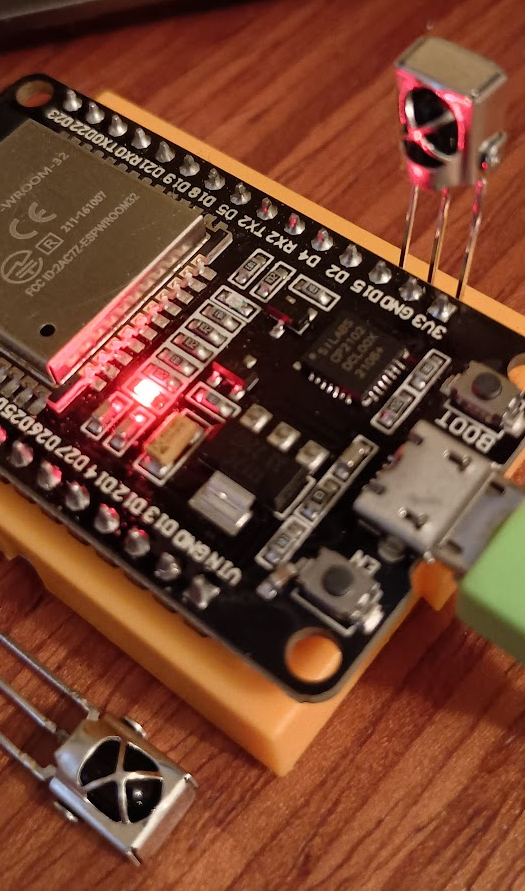
I published this Home Assistant blueprint to trigger 21 different commands, one for each button on this 21 button infrared remote control.
https://github.com/rvmey/TRIGGERcmd-Agent/blob/master/ha_blueprints/ir_remote.yaml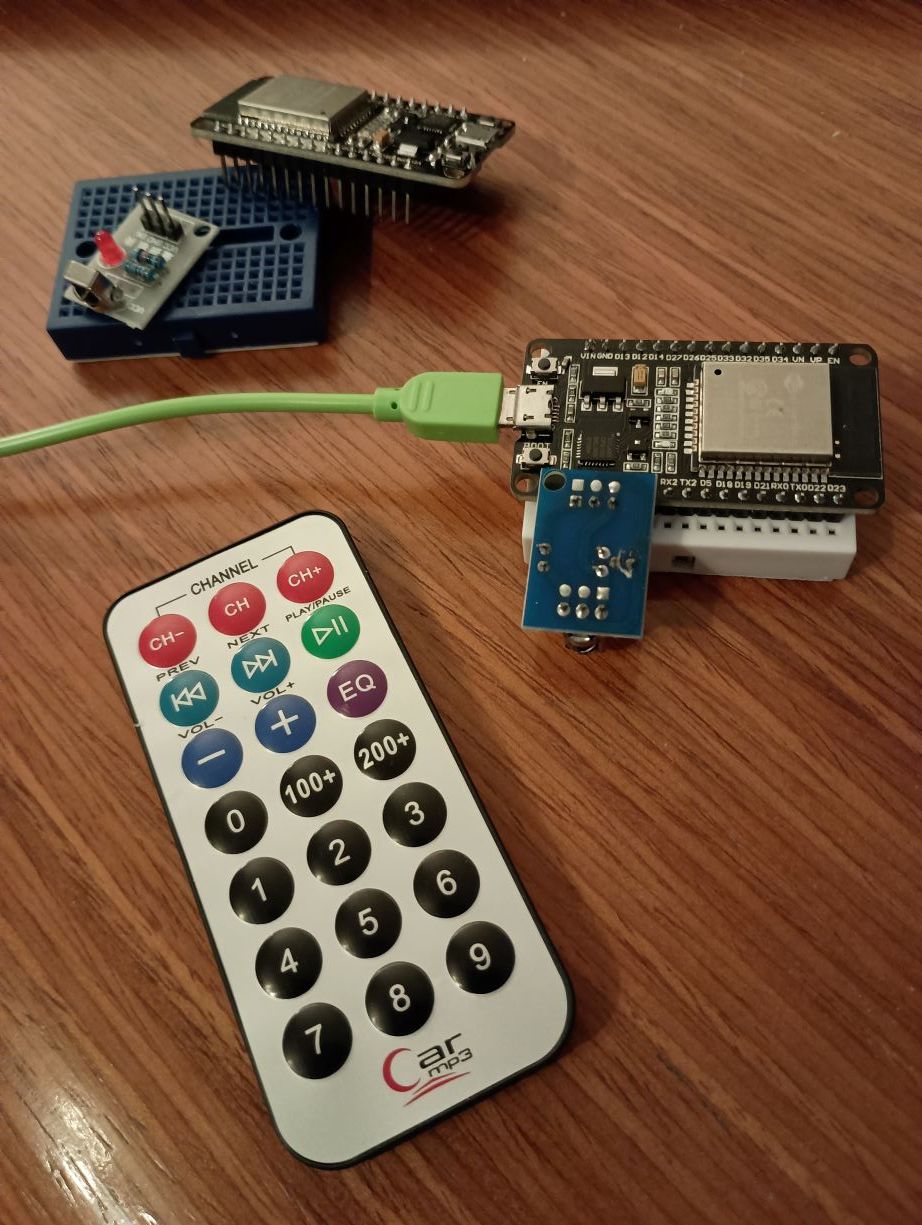
Install the "Mosquitto broker" Home Assistant add-on if you don't already have it.
Create a Home Assistant user for Tasmota to log into MQTT using this web page:
http://homeassistant.local:8123/config/usersConnect your ESP32 device to your PC via USB and install Tasmota firmware using this web page:
https://tasmota.github.io/installConnect it to your wifi, open the Tasmota web interface, and enable MQTT. Point it to your Home Assistant IP address, and input the username and password for the user you just created for it.
In the Tasmota Module configuration, enable IRrecv on GPIO 15:

Add this to your Home Assistant configuration.yaml. This will make the IR receiver(s) available as entities you can select on your automation.
mqtt:
  sensor:
  - name: "IR Receiver Blue"
    state_topic: "tele/tasmota_778254/RESULT"
    value_template: "{{ value_json.IrReceived.Data }}"
  - name: "IR Receiver White"
    state_topic: "tele/tasmota_47F4CC/RESULT"
    value_template: "{{ value_json.IrReceived.Data }}"
Modify it for your specific tasmota name(s) instead of tasmota_778254 or tasmota_47F4CC. You'll find yours on the MQTT configuration page.
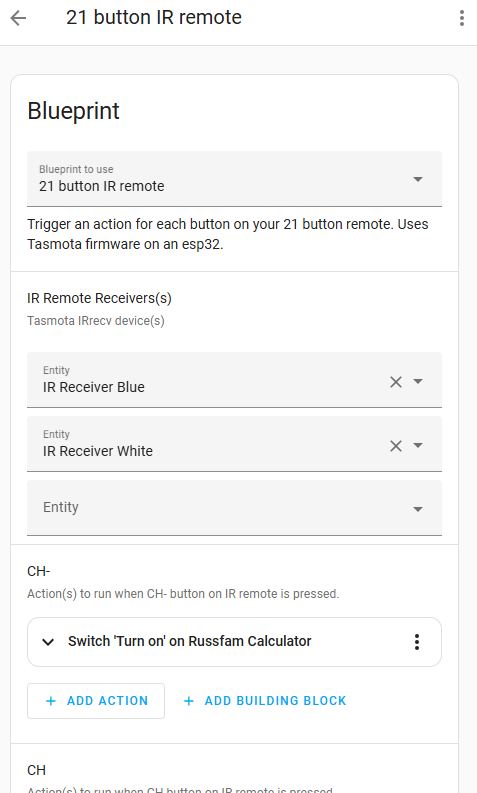
Go to this page and install the blueprint with the IMPORT BLUEPRINT button.
http://homeassistant.local:8123/config/blueprint/dashboard

Click the blueprint and configure your automation with an action for each of the 21 buttons on the IR remote. Notice the automation can use multiple IR receivers if you want.
The IR remotes are cheap enough you can buy a bunch and have them all over:

https://www.amazon.com/HiLetgo-HX1838-Infrared-Wireless-Control/dp/B01HTC5JX4
https://www.amazon.com/Teyleten-Robot-ESP-WROOM-32-Development-Microcontroller/dp/B08246MCL5Optionally, you might also want to run this command in the console to prevent it from losing its config when the power going out and back on too many times:
SetOption65 1If you prefer a Raspberry Pi solution that uses the same IR remote, check out this post.
EDIT 4/12/25: I've learned that these basic IR receivers work more consistently:
https://www.amazon.com/Vishay-TSOP4838-Infrared-Receiver-Pack/dp/B00UO9VO8O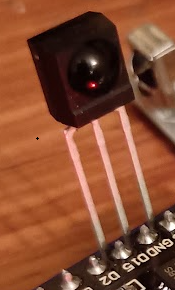
These work well too: