Windows script to prep SD card for Raspberry Pi with TRIGGERcmd agent
-
This script makes it super easy to setup a Raspberry Pi with the TRIGGERcmd agent installed.
Here's a link to a video showing this process: https://youtu.be/Gj4Kv3kBMgc
It has these features:
- Downloads and copies everything you need to the SD card.
- Works with wifi or wired Internet connections.
- Comes with commands to open two garage doors - just connect the relay board to the GPIO pins.
- Tested on Pi Zero W and Pi 2, but should work on all newer Pi's including the Pi 4.
Instructions:
- Insert your SD card into your Windows PC.
- Download SD Memory Card Formatter and use it to format your SD card.
- Download setup.bat to a folder on your computer.
- Open a cmd Window and run it.
It will prompt you for these things:
The drive letter of your SD card (for example E)
Your wifi network name (just press enter if you'll use ethernet)
Your wifi network password (only if you entered a wifi network name)
Your pi user password
Your TRIGGERcmd token - Eject your SD card.
- Insert your SD card into the Raspberry Pi.
- Optional: Connect your relay to the Raspberry Pi's GPIO pins.
- Power on your Raspberry Pi and wait until it's done setting up.
- Log into www.triggercmd.com and test your triggers.
Then, to modify your commands, you'll need to manually edit the /root/.TRIGGERcmdData/commands.json file with these steps:
- Download and install putty
- Use putty to ssh to raspberrypi
- Log in as pi with the password you set during installation
- Run these commands:
sudo su -
nano /root/.TRIGGERcmdData/commands.json
See these photos for how to connect the wires to open two garage doors with your Raspberry Pi.
Here's a link to the circuit board with 8 relays:
https://www.amazon.com/JBtek-Channel-Module-Arduino-Raspberry/dp/B00KTELP3IGithub repo for this: https://github.com/rvmey/raspberry-pi-setup
-
 R Russ referenced this topic on
-
@russ
Not sure if this is expected to work anymore. My setup gets stuck at the boot screen.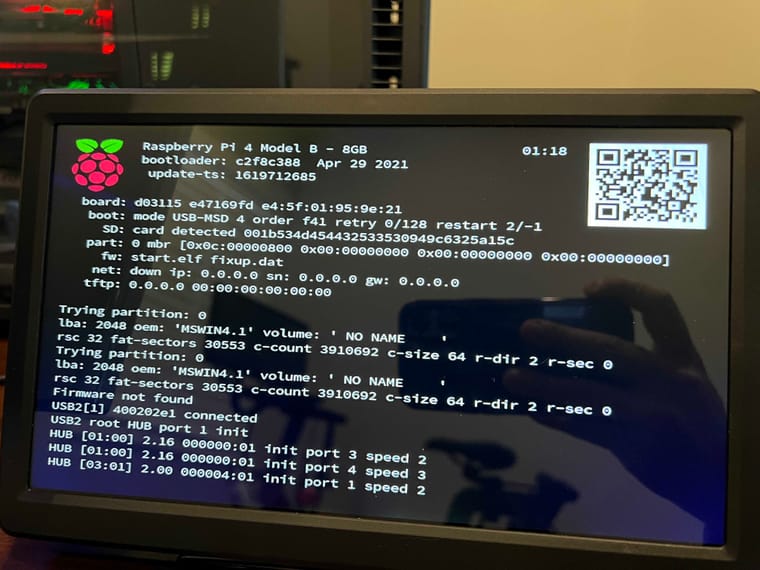
-
D Dean McNaughton referenced this topic on
-
@dean-mcnaughton, I'll test it. Just to confirm, you formatted your SD card, then ran setup.bat? Did you confirm setup.bat wrote data to your SD card before you put it in your Raspberry Pi?
-
@Russ
I think the batch file wrote info to the card, but can't remember for sure. I'm hesitant to repeat the experiment right now because the SSD card is configured and running Raspberry Pi OS.As far as I'm concerned, this is not an active issue for me anymore because I installed it a different way; I should have followed up to let you know. Thank you for looking into it and responding though!
-
R Russ referenced this topic on
-
R Russ referenced this topic on